Hexo用法汇总
基本操作
Hexo:简单、快速、强大的Node.js静态博客框架
NPM:NodeJS包管理工具
淘宝NPM镜像
直接使用:npm install -g cnpm --registry=https://registry.npm.taobao.org
alias使用:
1 | alias cnpm="npm --registry=https://registry.npm.taobao.org \ |
Hexo安装,-g全局安装
1 | npm install hexo -g |
博客创建
1 | hexo init noogel |
扩展插件安装
1 | sudo npm install hexo-server --save --registry=https://registry.npm.taobao.org |
之后新的机器部署环境可以直接 sudo npm install --registry=https://registry.npm.taobao.org
会自动读取 package.json 文件进行安装
服务启动,两种命令
1 | hexo serve |
一键发布到git
- 修改
_config.yml配置1
2
3
4
5
6
7
8## Docs: https://hexo.io/docs/deployment.html
deploy:
# 类型
type: git
# 仓库
repo: git@github.com:noogel/noogel.github.io.git
# 分支
branch: master - 发布命令
1
hexo d -g
- 清除发布结果
1
hexo clean
组合命令:alias hexod="hexo d -g && hexo clean"
添加tags
执行hexo new page "tags",然后编辑source/tags/index.md
配置修改
博客配置修改_config.yml,主题配置修改themes/<themes>/_config.yml
hexo自动提交命令
这里设置了一个自动提交的命令,源码自动提交到 sources 分支
alias hexodp="hexo d -g && git add --all && git commit -am 'auto commit' && git push origin sources"
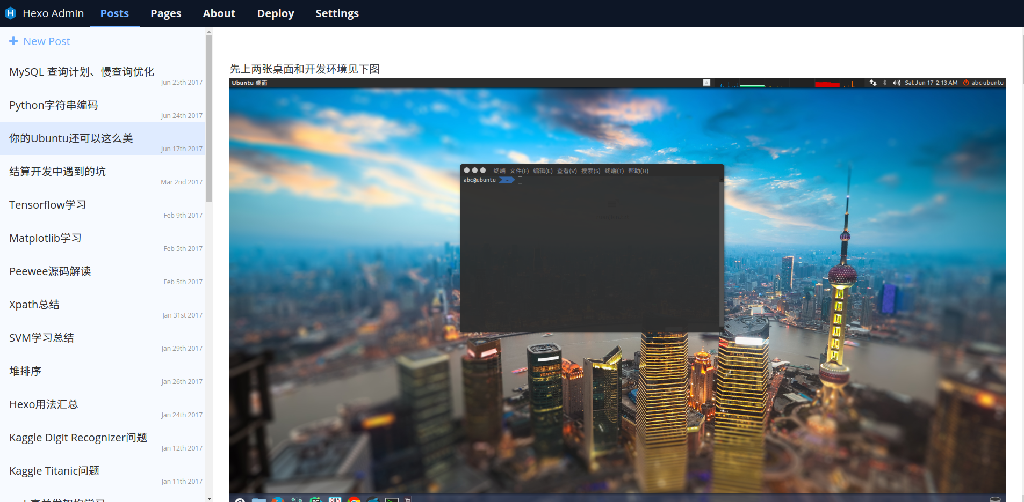
hexo-admin 管理文章
安装
1 | npm install --save hexo-admin --registry=https://registry.npm.taobao.org |
打开 http://localhost:4000/admin/
然后可以在里面配置登录账号密码,并添加到 _config.yml 文件中
1 | # hexo-admin authentification |
预览界面如下:
hexo常见问题解决办法
https://hexo.io/docs/troubleshooting.html
http://shenzekun.cn/hexo%E7%9A%84next%E4%B8%BB%E9%A2%98%E4%B8%AA%E6%80%A7%E5%8C%96%E9%85%8D%E7%BD%AE%E6%95%99%E7%A8%8B.html
https://donlex.cn/archives/55e73569.html